Just in case you need to convert a 3D Revit model to 3D AutoCAD, here ya go. It is very simple but remember to click one button to make sure you work with ACAD solids…
Here is a snapshot of the Revit model:

3D view of Revit model
With the Revit model open, Click the Application Menu (“Big R”) > “Export” > “CAD Formats” > Select “DWG“.

In the “DWG Export” dialog box – Click on the ellipsis (button with 3 dots) to open the “Modify DWG/DXF Export Setup” dialog box.
- Click the “Solids” tab
- Select “ACIS solids“
- Click Next

Click “Next…” to continue

Define the folder where you would like the new DWG to reside and also give it a new name if desired. You can also define what DWG version to process it as. Click OK to proceed with the conversion.

In the lower left of the Revit screen you will see a status bar showing you the progress of the conversion.

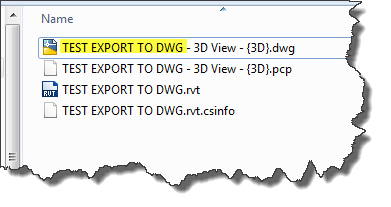
Once it is done, notice the new DWG. I will warn you that the Revit File to DWG conversion will make the overall file larger. The Revit file used in this example was 58mb and after the conversion to DWG was 70mb.
Now you can edit the converted file – Also note that the objects are AutoCAD solids.


![]()